Adding auxiliary lights can make night driving safer and improve visibility during off-road adventures. However, before you install spotlights on your vehicle, always check your region’s road laws—many places restrict their use on public streets. This guide explains how to mount, wire, and secure spotlights using a relay system for reliable performance and safety.
Step-by-Step Guide: How to Install Spotlights on Your Vehicle
| Step | Action | Purpose / Details |
|---|---|---|
| 1 | Disconnect the Battery | Always start by removing the negative cable from the battery to avoid short circuits or shocks while working with electrical components. |
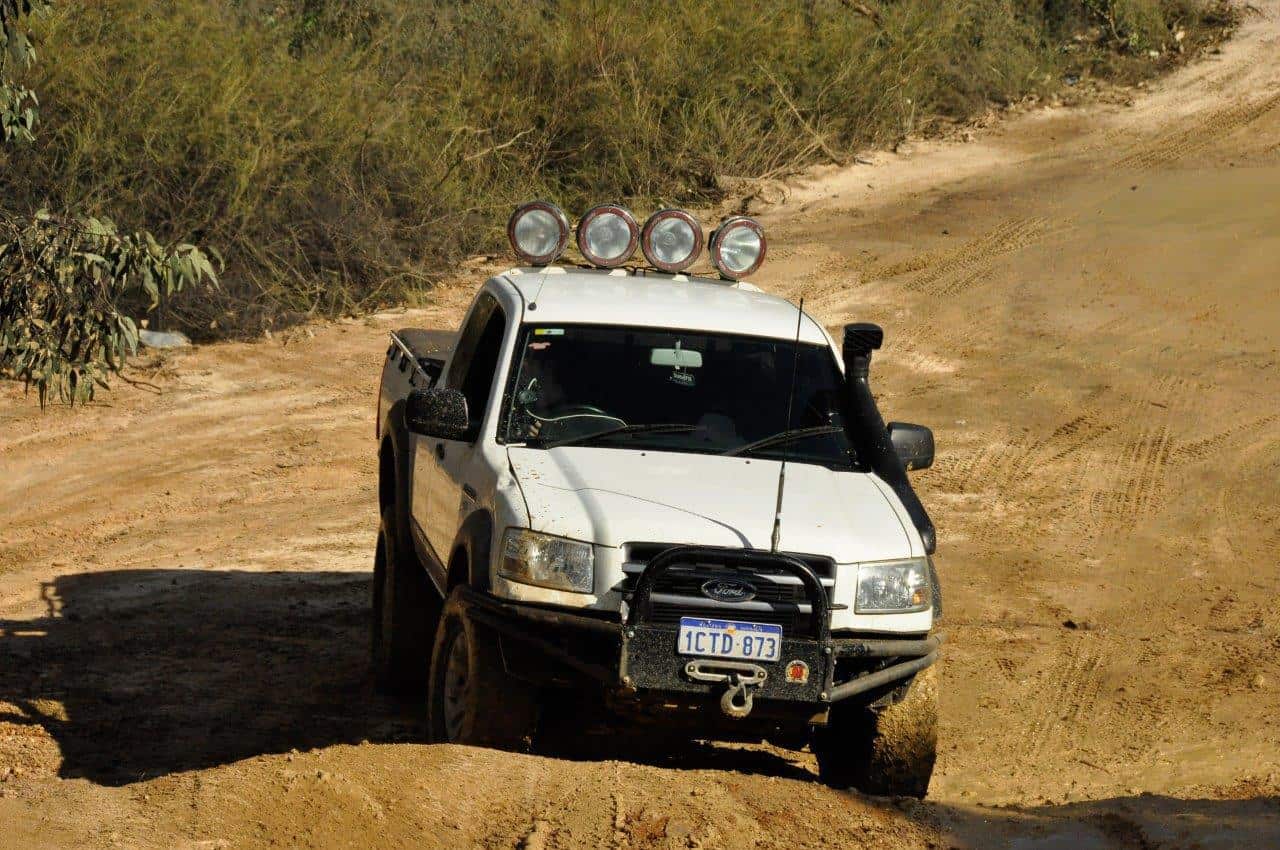
| 2 | Choose the Mounting Location | Common spots include side mirrors, front bumper, or roof racks. Roof installation may require drilling—use silicone to prevent leaks. |
| 3 | Select the Spotlight Type | Choose between halogen (affordable), LED (bright and efficient), or HID (longest-lasting) lights based on your needs and budget. |
| 4 | Plan the Switch Placement | Decide if you’ll use the built-in light switch or install one inside your dashboard. Interior switches require extra wiring through the firewall. |
| 5 | Mount the Relay in the Engine Bay | Install a Single Pole Single Throw (SPST) relay near the battery but away from heat sources like the exhaust manifold. |
| 6 | Ground the Relay | Run a short black wire from the relay to a clean metal bolt on the car’s body or frame to complete the grounding circuit. |
| 7 | Add an In-Line Fuse | Connect an in-line fuse holder to the relay’s positive post and then link it to the battery’s positive terminal for surge protection. |
| 8 | Wire the Spotlight | Attach a wire from the relay to the positive terminal of the spotlight. Solder or crimp the connection securely, then cover it with heat shrink or electrical tape. |
| 9 | Connect the Switch | Run a wire from the relay to your dashboard switch, threading it through a firewall opening near the pedals. Ensure clean routing away from moving parts. |
| 10 | Ground and Power the Switch | Attach the switch’s ground wire to a metal bolt, and connect its power wire to a switched circuit like the radio or headlights to ensure it only works when the car is on. |
| 11 | Mount the Spotlight | Drill holes using the supplied bracket and bolt the light securely. For roof installs, apply silicone sealant around holes to prevent leaks. |
| 12 | Mount the Switch | Drill a small hole in your dashboard trim, insert the switch, and tighten the mounting nut from behind to secure it in place. |
| 13 | Secure and Hide Wiring | Use zip ties and wire loom to organize cables under the dashboard and along the frame. Tuck loose wires between body panels for a clean finish. |
| 14 | Reconnect the Battery and Test | Reattach the negative terminal, start your car, and flip the switch. Your spotlights should illuminate instantly if wired correctly. If not, recheck fuse and relay connections. |
Tips
- Use 12-gauge automotive wire for most setups; use 10-gauge for higher-wattage lights.
- Always install a fuse rated for the light’s amperage to prevent electrical fires.
- Test the setup at night off-road before relying on it for extended trips.
Warnings
- Never connect spotlights directly to the battery without a relay and fuse.
- Avoid using the lights on public roads—they can blind other drivers and attract penalties.
- Keep wires away from moving parts or high-heat areas to prevent melting or shorts.
Installing additional lighting can transform your vehicle’s visibility and style. When done properly, learning how to install spotlights on your vehicle enhances both function and safety—making your nighttime drives and off-road journeys brighter and more enjoyable.


