


Need to take a quick screenshot but don’t want to clutter your desktop with image files? With a simple keyboard trick, you can screenshot straight to the clipboard on macOS, making it easier to paste directly into documents or image editors.
Default macOS Screenshot Shortcuts
macOS includes handy shortcuts to capture screenshots:
- Shift + Command + 3 – Captures the entire screen.
- Shift + Command + 4 – Captures a selected portion using a crosshair.
- Shift + Command + 4 + Spacebar – Captures a specific window.
By default, these screenshots are saved to your desktop as PNG files.
How to Send Screenshots Directly to Clipboard
To avoid saving image files and instead copy screenshots to your clipboard for instant pasting, just add the Control key:
- Control + Shift + Command + 3 – Captures the whole screen to clipboard.
- Control + Shift + Command + 4 – Captures a selected portion to clipboard.
- Control + Shift + Command + 4 + Spacebar – Captures a window to clipboard.
You’ll notice there’s no file saved. Instead, the image is copied instantly—ready to paste into any app.
Where to Paste Clipboard Screenshots
Once captured to the clipboard, you can paste your screenshot into:
- Preview: Press Command + N to create a new image from the clipboard.
- Photoshop or Affinity Photo: Simply press Command + V.
- Mail, Messages, or Notes: Paste the image inline with text.
- Universal Clipboard: Paste it onto another Apple device logged into the same iCloud account.
Bonus Tip: Use Screenshot App for More Options
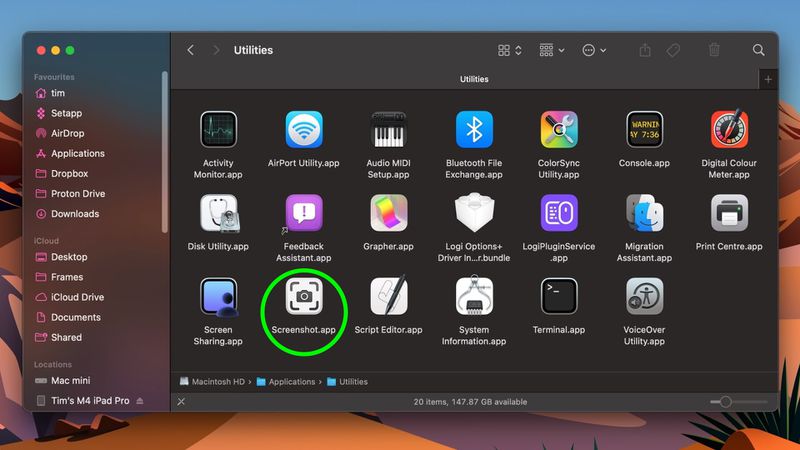
macOS also includes a Screenshot app (found in Applications ➝ Utilities) that offers timed captures, screen recording, and destination settings. But for quick captures to clipboard, Control + Shift + Command is the fastest way.
Conclusion
Mastering the macOS screenshot to clipboard shortcut can save time, reduce file clutter, and make content creation more efficient. It’s one of the simplest productivity hacks macOS offers—just one extra key away from total screenshot control.


