Knowing how to replace RV flooring can completely transform your camper’s comfort, appearance, and durability. Over time, RV floors can warp, crack, or rot due to moisture or temperature changes. Whether you prefer carpet, vinyl tile, or plank flooring, this detailed guide will walk you through preparing, removing, and installing new materials to make your RV feel brand-new again.
Guide Table: How to Replace RV Flooring
| Step | Task | Description |
|---|---|---|
| 1. Measure and Prepare | Remove furniture and trim. | Take measurements, clear space, and set up safety gear. |
| 2. Replace Old Flooring | Remove carpet, vinyl, or planks. | Pry up staples or tiles and inspect the subfloor. |
| 3. Repair and Clean | Fix damaged wood. | Replace soft or rotten subfloor sections with marine plywood. |
| 4. Install New Flooring | Lay carpet, vinyl tile, or planks. | Secure flooring tightly and finish with trim for a polished look. |
Preparing to Replace the Floor
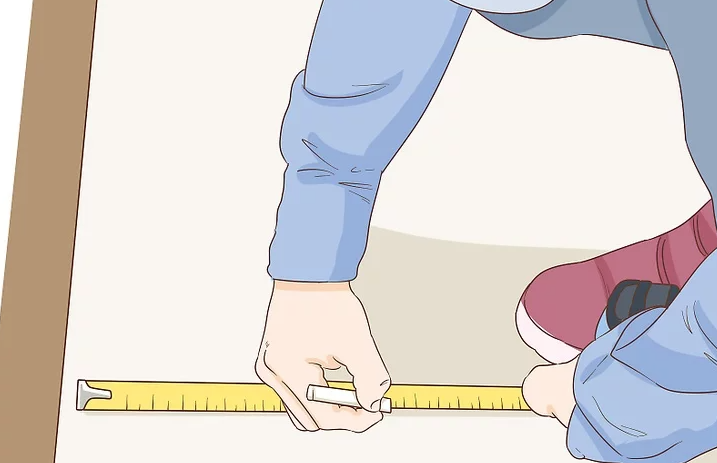
Start by measuring the floor’s square footage using a tape measure and sketching your RV layout. This helps you estimate the amount of flooring material you need. Remove any furniture or fixtures blocking the work area—many are bolted down, so use a wrench. Next, pry off wall and cabinet trim with a crowbar, saving undamaged pieces for reinstallation. Before starting, put on safety goggles, gloves, and a face mask, and ventilate your RV to avoid inhaling dust or fumes.
Replacing Carpet
To remove carpet, use pliers to pull up the many staples holding it in place. After removing it, inspect the subfloor for soft spots, mold, or cracks. Replace any damaged sections with marine plywood, which is moisture-resistant and ideal for RV use. Clean the area thoroughly to remove any remaining staples or debris.
If installing new carpet, cut it to size and use a staple gun to secure it every 4 inches, stretching it tightly to prevent wrinkles. For removable carpets, simply anchor them with furniture instead of stapling. Finally, reinstall your trim and bolt down furniture for a neat finish.
Changing Vinyl Tile
If you prefer vinyl, pry up old stick-on tiles using a flathead screwdriver or crowbar. Check for water damage or rot beneath and replace any compromised sections. Choose peel-and-stick vinyl tile for easy installation—these come in various designs and are perfect for DIY RV renovations.
Clean the subfloor thoroughly before application. Start from the center of the RV and work outward, pressing each tile firmly for proper adhesion. Use a utility knife for trimming edge pieces, then reinstall your trim to conceal gaps and finish by securing all furniture.
Installing Plank Flooring
For a modern, durable look, use laminate or vinyl plank flooring. Remove existing planks with a crowbar, as most interlock without nails. Repair any subfloor damage first, especially if you spot soft or discolored wood.
Begin along the longest wall and lay planks with the female groove facing outwards. Connect each piece by fitting the male end into the groove and tapping lightly with a mallet. Use spacers along the walls to allow for natural expansion during temperature changes. Cut planks to size with a utility knife or jigsaw, reinstall your trim, and bolt down furniture securely.
Tips
- Always use marine plywood for repairs—it resists humidity and temperature swings.
- Vinyl tile and planks are lightweight, making them perfect for small RVs.
- Avoid carpeting in moisture-prone areas like bathrooms or kitchens.
- Keep windows open during installation for better ventilation.
Things You’ll Need
- Tape measure
- Crowbar
- Staple gun and staples
- Pliers
- Utility knife or jigsaw
- Skill saw (for subfloor repairs)
- Marine plywood
- Rubber mallet
- Spacers
- Wrench and screwdriver
- Safety goggles and gloves
Replacing RV flooring is one of the most rewarding upgrades you can make. Whether you choose carpet for comfort, vinyl for easy cleaning, or plank flooring for durability, following these steps will give your RV a fresh, stylish, and functional interior ready for the open road.


