Downgrading an operating system is never something most people plan to do, but early macOS releases often come with bugs, app incompatibilities, or performance issues that disrupt real work. If macOS Sequoia is slowing you down, breaking essential apps, or causing instability, rolling back to a stable version like macOS Sonoma can restore sanity fast.
The good news is that downgrading macOS Sequoia is completely doable on the first attempt if you prepare properly and choose the right method. This guide walks you through everything you need to know, from backing up your data to selecting the safest downgrade path for your Mac.
Whether you installed the Sequoia beta or jumped into the public release too early, the steps below will help you downgrade macOS Sequoia cleanly, safely, and without losing important files.
Before you downgrade macOS Sequoia
Before starting the downgrade process, preparation is critical. Downgrading macOS Sequoia requires erasing your internal drive, so skipping prep almost guarantees data loss.
Start by checking app compatibility for the macOS version you’re downgrading to, especially if you rely on professional software. Close all running apps and keep your Mac plugged into power throughout the process.
Step 1: Create a full backup
Downgrading wipes your Mac completely. You must back up your system or at least your critical files.
You can use Time Machine for a full system snapshot, which is ideal if you plan to restore everything exactly as it was before upgrading.
Backup steps:
- Connect an external drive (ideally twice your internal storage size)
- Open Disk Utility and erase the drive using APFS or Mac OS Extended (Journaled)
- Go to System Settings > General > Time Machine
- Add the backup disk and start a manual backup
If you prefer smaller, selective, and compressed backups, Get Backup Pro is a strong alternative. It’s especially useful if you only need to preserve documents, projects, or specific folders created while on Sequoia.
Step 2: Clean system junk before downgrading
System junk, caches, and leftover beta files can interfere with a clean macOS install.
Using CleanMyMac before downgrading helps remove unnecessary files, malware traces, and system clutter so you don’t carry problems into the older OS.
A quick system cleanup can free several gigabytes and reduce post-downgrade issues.
How to downgrade macOS Sequoia
There are three reliable downgrade methods. The right one depends on how much control you want and whether you already have a backup.
Downgrade options at a glance
| Method | Best for | Control | Extra hardware |
|---|---|---|---|
| Time Machine | Restoring to pre-Sequoia state | Low | Backup drive |
| Internet Recovery | Clean reinstall | Medium | None |
| Bootable USB | Installing a specific macOS version | High | 32GB USB |
Option 1: Downgrade macOS Sequoia using Time Machine
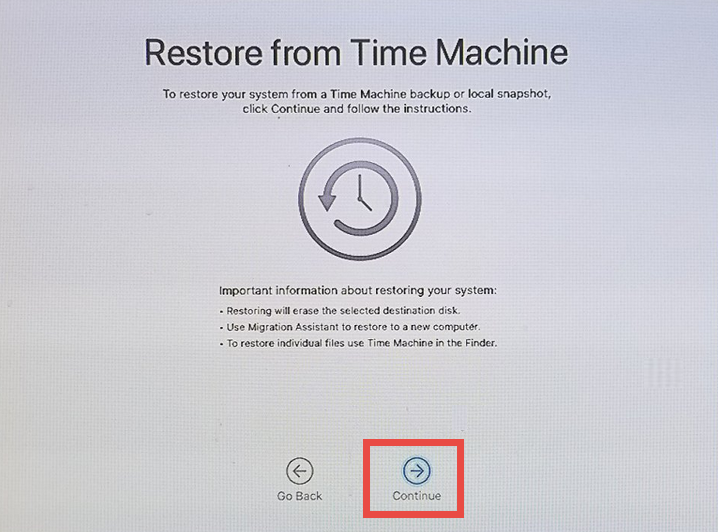
This is the easiest method if you created a Time Machine backup before installing Sequoia.
Steps:
- Connect your Time Machine backup drive
- Restart your Mac into Recovery mode
• Intel: Command + R
• Apple silicon: Hold power > Options - Select Restore from Time Machine
- Choose a backup dated before upgrading to Sequoia
- Follow the on-screen steps
This restores your Mac exactly as it was, including apps, settings, and files.
Option 2: Downgrade macOS Sequoia using Internet Recovery
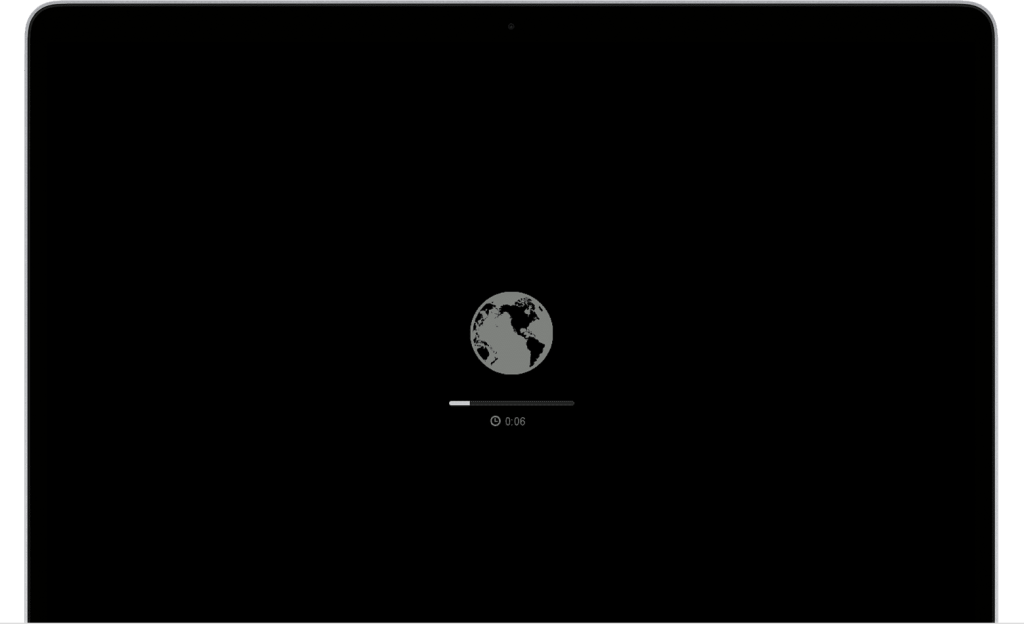

Internet Recovery installs the macOS version your Mac originally shipped with or the closest supported version.
Steps:
- Shut down your Mac
- Enter Internet Recovery
• Intel: Shift + Option + Command + R
• Apple silicon: Hold power > Options - Open Disk Utility and erase Macintosh HD (APFS)
- Exit Disk Utility
- Choose Reinstall macOS and follow prompts
After installation, you can upgrade manually to macOS Sonoma if needed.
Option 3: Downgrade macOS Sequoia with a bootable USB installer

This method offers the most control and is ideal if you want to install a specific macOS version like Sonoma.
What you need:
• 32GB USB flash drive
• macOS Sonoma installer from the App Store
Create the bootable USB
- Format the USB in Disk Utility (Mac OS Extended, Show All Devices)
- Open Terminal and run Apple’s createinstallmedia command
- Wait for the installer to finish copying files
Install macOS Sonoma
- Shut down your Mac
- Hold the power button until startup options appear
- Select the USB installer
- Erase Macintosh HD using APFS
- Install macOS Sonoma
This method takes longer but avoids surprises.
Key tips for a successful macOS Sequoia downgrade
• Always back up before wiping your drive
• Keep your Mac plugged into power
• Erase the entire disk, not just the volume
• Set aside up to three hours uninterrupted
• Don’t rush installer or erase steps
Most downgrade failures happen due to skipped backups, wrong disk selection, or interrupted installs.
Downgrade macOS Sequoia with confidence
Downgrading macOS Sequoia isn’t risky if you follow the correct steps. With a proper backup, a clean disk, and the right downgrade method, you can return to a stable macOS version on the first try.
If Sequoia isn’t ready for your workflow yet, rolling back to Sonoma is a smart move, not a failure. You can always upgrade again later once the OS matures and app support improves.