
If your Wi-Fi slows down, drops out, or starts acting strange, the solution often lives inside your router, not your Mac. Most people never realize that every home router has a built-in control panel you can access through a web browser. From there, you can change your Wi-Fi name, update passwords, block unknown devices, and tighten security settings in just a few minutes.
On macOS, accessing router settings is especially simple because everything you need is already built in. You don’t need special software, technical training, or help from your internet provider. As long as your Mac is connected to the network, you can open the router’s admin interface and take control of your Wi-Fi.
This guide shows exactly how to access router settings on a Mac, even if you’ve never done it before. You’ll learn how to find your router’s IP address, log in safely, update key settings, and troubleshoot common problems. Along the way, you’ll also see which Mac tools make network management easier and more reliable.
Why you might need to access router settings on Mac
Your router controls far more than just internet access. Opening its settings allows you to:
Change your Wi-Fi name and password
Improve security with modern encryption
Block unwanted devices from your network
Set parental controls or access schedules
Run diagnostics and fix connection problems
Update firmware for stability and safety
Once you know where to look, these tasks become routine instead of frustrating.
How to access router settings on Mac: the basic process
Most routers follow the same login pattern, regardless of brand.

The general steps are:
Connect your Mac to the router’s Wi-Fi or Ethernet
Find the router’s IP address
Enter the IP address in a browser
Log in with the admin credentials
Adjust settings as needed
Each step is explained below in detail.
How to find your router’s IP address on a Mac
Routers use private IP addresses that usually look similar. Common examples include:
192.168.1.1
192.168.0.1
10.0.0.1
10.0.1.1
192.168.2.1
You can try these directly in Safari or Chrome. If a login page appears, you’ve found the correct address.
The most reliable way, however, is through macOS settings.


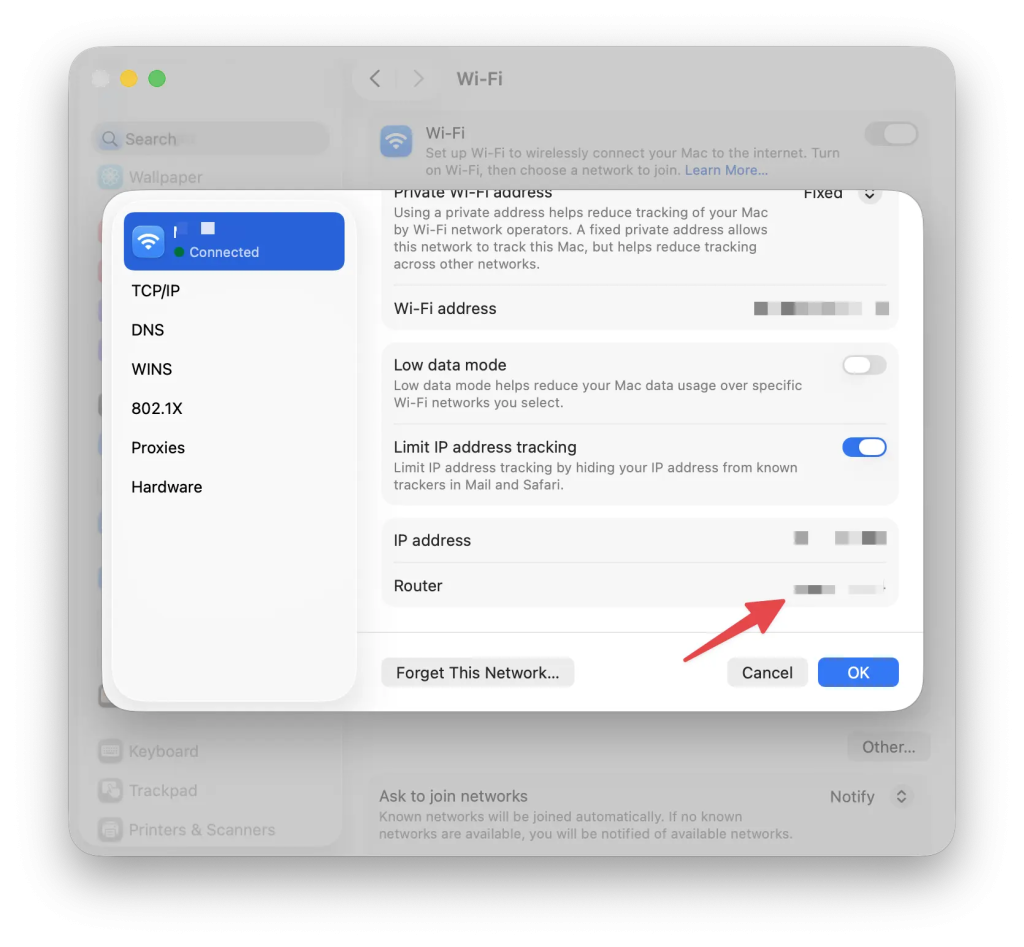
To find it:
Open System Settings
Go to Network
Select Wi-Fi or Ethernet
Click Details
Look for the field labeled Router
That number is the exact address you should enter in your browser.
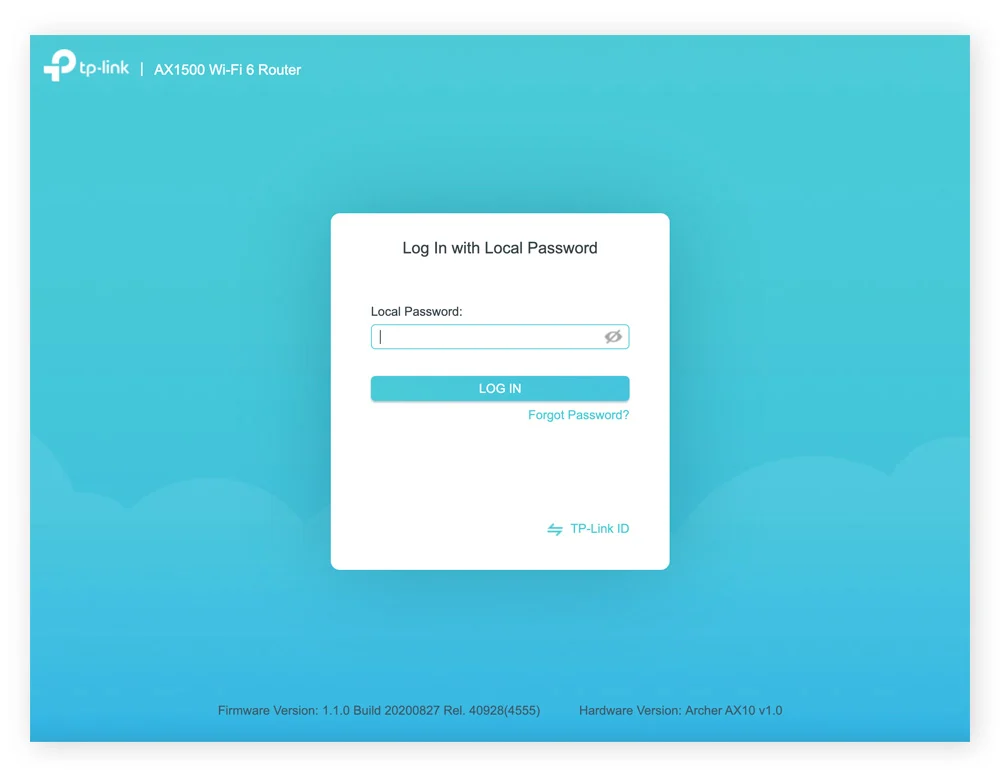
Logging into your router from a Mac
Once you enter the router’s IP address, a login screen appears. Most routers use default credentials such as:
admin / admin
admin / password
admin / 12345
These details are often printed on a label under the router itself. If you changed the password before and forgot it, you may need to reset the router to factory settings using the physical reset button.
Many people lose router passwords over time, which is why storing them securely matters. Using a password manager like Secrets 4 helps keep router credentials safe and easy to retrieve.
Changing Wi-Fi name and password
Once inside the admin panel, look for sections labeled Wireless or Wi-Fi.


To change your Wi-Fi password:
Open Wireless or Wi-Fi settings
Find Security or Passphrase
Enter a new strong password
Save or Apply changes
After saving, all devices will disconnect and need to reconnect using the new password.
Improving router security
Router settings on Mac also give you direct control over network security.
Important upgrades include:
Switching security mode to WPA3 or WPA2
Changing the router admin password
Disabling outdated encryption methods
Enabling firewall protection
Updating router firmware
Firmware updates are especially important because they patch vulnerabilities and improve performance.
Managing connected devices
Inside the admin interface, you can usually view all connected devices. This lets you:
Identify unknown devices
Block suspicious connections
Assign bandwidth limits
Rename known devices for clarity
This is one of the easiest ways to spot freeloaders or misconfigured hardware on your network.
Tools that help manage Wi-Fi on Mac
While the router dashboard is essential, Mac apps make troubleshooting easier.


Useful tools include:
iStat Menus for real-time network activity
WiFi Explorer to analyze signal strength and channels
NetSpot to map coverage and find dead zones
ClearVPN to disable VPN interference when accessing routers
Secrets 4 to store router credentials securely
Together, these tools remove guesswork from Wi-Fi management on macOS.
What to do if the router page won’t open
If the router login page doesn’t load:
Confirm you’re connected to the correct Wi-Fi
Disable any active VPN
Try another common IP address
Restart your router and Mac
Check the router label for the exact IP
Browser cache issues can also interfere, so opening the page in a private window often helps.
Why accessing router settings on Mac matters
Learning how to access router settings on Mac gives you control over your home network. Instead of waiting for support or guessing what’s wrong, you can diagnose problems, strengthen security, and keep your Wi-Fi running smoothly on your own terms.
Once you’ve done it once or twice, it becomes a simple routine rather than a technical hurdle. Combined with the right Mac tools, router management shifts from frustration to confidence.


