Replacing an RV ceiling fabric may seem like a big task, but with the right tools and patience, it’s very doable. Whether you’re dealing with sagging foam, old adhesive, or faded fabric, learning how to replace RV ceiling fabric can completely refresh your vehicle’s interior. This guide walks you through measuring, removal, adhesive application, and installation for a clean and lasting result.
Step-by-Step Guide to Replace RV Ceiling Fabric
| Step | Task | Description |
|---|---|---|
| 1. Measure Ceiling Area | Measure interior roof and accessories. | Add 2–3 inches extra for trimming. |
| 2. Remove Old Fixtures | Take off lights, vents, and trim. | Use a screwdriver for easy removal. |
| 3. Detach Old Fabric | Use a putty knife or hobby knife. | Gently peel off the old foam backing. |
| 4. Clean Ceiling Surface | Wipe with adhesive cleaner. | Removes old glue and dirt before spraying. |
| 5. Apply Trim Adhesive | Spray horizontally and vertically. | Ensures even coverage and strong bonding. |
| 6. Attach New Headliner | Start from one corner. | Press and stretch fabric evenly across. |
| 7. Cut Openings | Cut holes for lights or vents. | Use a hobby knife for neat openings. |
| 8. Trim Excess Material | Remove overhangs neatly. | Keeps edges flush and professional. |
| 9. Reinstall Fixtures | Replace all removed parts. | Finish with clean, smooth alignment. |
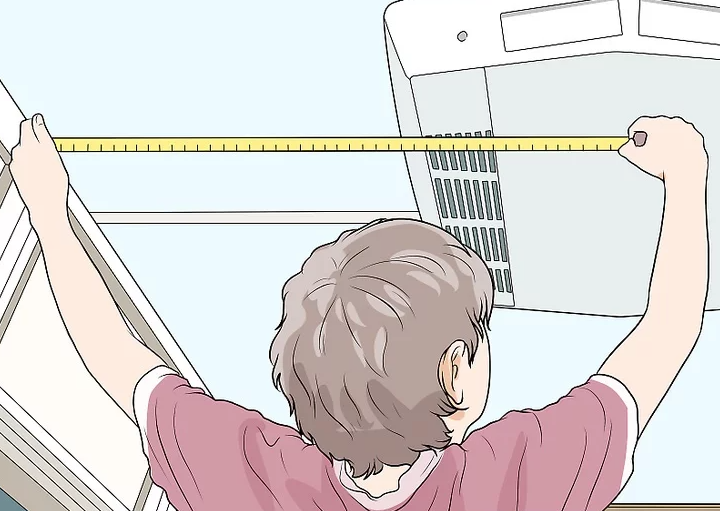
1. Taking Measurements
Start by measuring the length and width of your RV’s ceiling. Always purchase headliner fabric that’s slightly larger than your ceiling size—2 to 3 inches extra allows for cutting and fitting. If your old headliner is intact, use it as a template. For durability, choose ¼-inch foam-backed fabric in light shades like beige, which resist fading over time.
Before removal, unscrew and detach items like ceiling lights, molding, and the TV antenna crank. Measure around air-conditioners or vents so you can later cut perfect openings in the new headliner.
2. Removing Old Ceiling Fabric
Use a putty knife to slide about ½ inch under a seam or corner of the old ceiling fabric. Gently lift until you can grip the foam backing, then pull it away with your hands. If no seam exists, make a small cut using a hobby knife. Avoid reusing the old foam—it degrades over time and won’t bond properly.
Once the old material is off, scrub leftover foam and adhesive with a bristle brush or coarse sandpaper. Be gentle to avoid denting the ceiling, which would prevent smooth adhesion later.
3. Cleaning and Applying Adhesive
Before applying glue, clean the ceiling with a general adhesive cleaner and a dry cloth. Wait about five minutes for it to dry. Then, spray trim adhesive evenly across the ceiling using horizontal passes set to “Heavy.” Next, switch to vertical spraying for complete coverage. Repeat this same pattern on the foam side of the new headliner fabric, using medium intensity to avoid oversaturation.
Always choose heat-resistant glue, especially if you travel in warm climates. It prevents sagging and peeling.
4. Attaching the New Ceiling Fabric
Position the new foam-backed fabric in one corner of the RV. Use your palms to press and smooth it vertically, working toward the opposite side. If you have help, ask someone to hold up the remaining fabric to prevent folds.
Once the first half is attached, move horizontally across the ceiling, pressing firmly as you go. If you notice any air bubbles or wrinkles, gently peel back and reapply within the first few minutes—before the adhesive sets.
Cut holes for light fixtures or wiring using a sharp hobby knife. Then, trim excess fabric along the walls so that the edges are neat and aligned.
5. Finishing Touches
After the ceiling fabric is secure and smooth, reinstall any accessories you removed—lights, vents, moldings, or antenna handles. If you forgot to pre-cut holes, carefully make openings now using a knife and putty tool to expose the fixture space.
The final look should be clean, tight, and professional. Take your time to press out wrinkles, ensuring the foam backing adheres evenly.
Things You’ll Need
- Measuring tape
- Screwdriver set
- Foam headliner (¼-inch preferred)
- Hobby knife / quick-change knife
- Putty knife
- Bristle brush or coarse sandpaper
- General trim adhesive (heat-resistant)
- Scissors
- Adhesive cleaner
- Dry cloth
By following these steps, you can confidently replace RV ceiling fabric without professional help. A new headliner not only improves appearance but also enhances insulation and resale value.


