Apple Pay offers a streamlined, secure way to receive personal or business payments. Here’s how to make sure you receive your funds efficiently.
Method 1: Accepting a Personal Payment
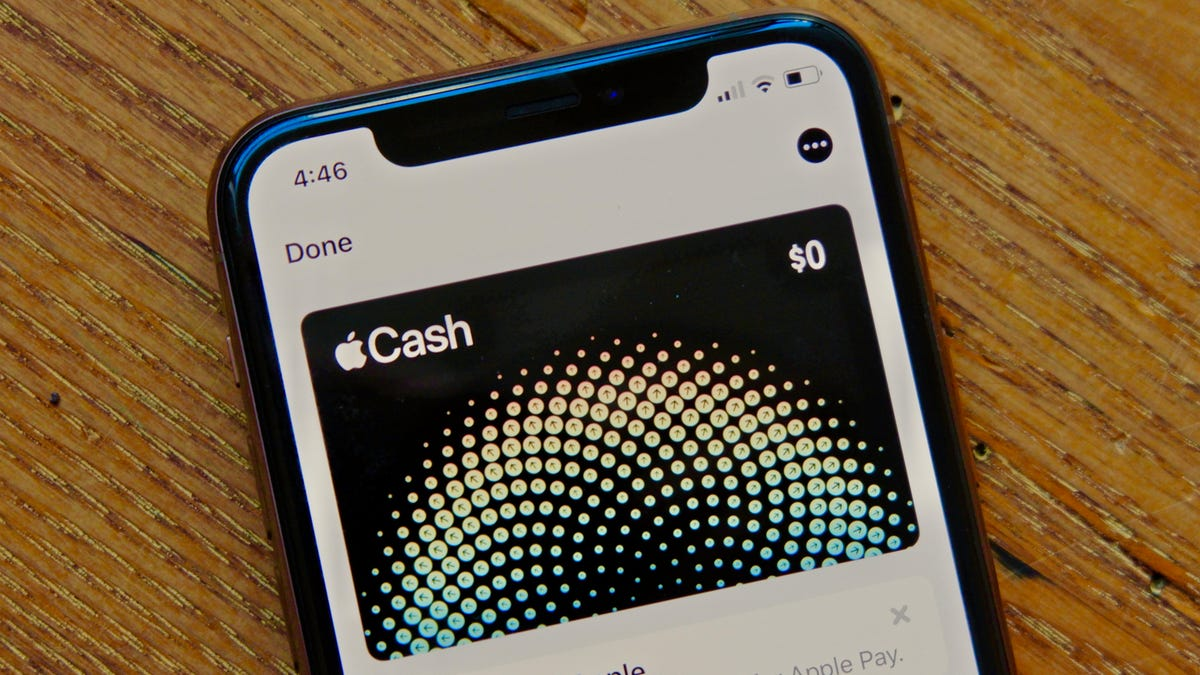
- Open Wallet
- Launch the Wallet app on your home screen. It should have a colorful wallet icon.
- Requirements:
- You must be at least 18 and living in the United States.
- Have an iPhone/iPad running iOS 11.2 or later or an Apple Watch with watchOS 4.2 or later.
- Enable two-factor authentication for your Apple ID.
- Add a bank debit card to your Apple Pay.
- Find and Select Your Card
- Locate your payment card and tap on it.
- You’ll see a list of recent transactions beneath the card image.
- Select the Payment to Accept
- Tap on the transaction you wish to accept.
- You’ll see all canceled, declined, or accepted transactions.
- Tap Accept
- Click “Accept” to confirm receipt of the payment.
- Your funds will now be available in your Apple Cash balance. You can use them with Apple Pay vendors or transfer them to your bank account.
Method 2: Accepting a Business Payment
- Obtain an NFC-Enabled Terminal
- Acquire a point-of-sale terminal that supports Near Field Communication (NFC). Square offers a convenient option at squareup.com.
- You’ll also need:
- A merchant account provider or Independent Sales Organization (ISO)
- A payment processor
- A merchant ID (MID) or account number
- A way to contact your merchant account provider
- Set Up Your Reader
- Make sure the NFC terminal is visible and accessible to customers.
- Prompt Customers to Tap Devices Near the Reader
- Customers should hold their iPhone, iPad, or Apple Watch near the terminal.
- Once four green lights appear and a chime is heard, the payment is accepted.
- Transaction Receipt
- The customer will automatically receive a receipt in their Wallet, while your business records the transaction in its system.


