When winter approaches, protecting your RV’s plumbing is crucial. One of the best methods is to blow out RV water lines with compressed air. This process clears water from pipes and tanks, preventing freezing and burst damage during storage. By following this simple, affordable method, you can winterize your RV effectively without using gallons of antifreeze.
Guide Table: How to Blow Out RV Water Lines
| Step | Action | Pro Tip |
|---|---|---|
| 1. Drain Water Tanks | Empty the fresh, gray, and black tanks completely. | Always drain the black tank first to clean out sewage lines. |
| 2. Shut Off Power | Turn off gas and electricity to your water heater. | Let it cool overnight before draining. |
| 3. Open Drains and Faucets | Open all valves to release trapped water. | Flush toilets to empty internal lines. |
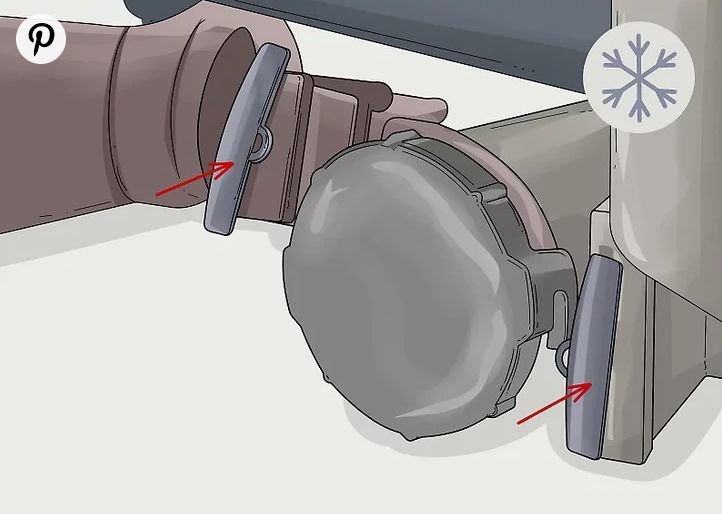
| 4. Attach Blowout Plug | Connect a blowout plug to the RV’s freshwater inlet. | Tighten it securely to prevent leaks. |
| 5. Connect the Compressor | Use a 30 PSI compressor with an adjustable regulator. | Avoid pressures above 50 PSI to protect lines. |
| 6. Blow Out Faucets | Run hot and cold water lines until no water remains. | Start from the kitchen sink and move to bathrooms. |
| 7. Flush Accessories | Clear toilets, showers, ice makers, and outdoor faucets. | Don’t forget outside water ports and sprayers. |
| 8. Seal and Store | Disconnect hoses, close valves, and cover vents. | Leave faucets slightly open for airflow. |
Step-by-Step Instructions
1. Drain the Water Lines and Tanks
Shut off the power to your RV’s water heater and let it cool overnight. Open the drain valves for the freshwater, black, and gray water tanks. Attach a sewer hose to direct waste into an approved dump station. Once drained, turn off the water pump and disconnect the water supply.
2. Prepare the Air Compressor
Get a small portable compressor with at least a 2-gallon air tank. Attach a blowout plug to the RV’s freshwater inlet and connect the compressor hose. Adjust the pressure to 30 PSI to avoid damaging pipes. If your compressor has no regulator, attach one externally.
3. Blow Out the Water Lines
Open a faucet inside the RV and activate the air compressor. Start with hot water, then switch to cold once water stops flowing. Repeat for every sink, shower, and faucet in the RV. Work systematically from the kitchen to the bathroom to ensure every line is cleared.
4. Flush Extra Fixtures
Press the toilet flush lever, clear out the showerhead, and activate any appliances connected to the plumbing—such as ice makers, dishwashers, or outdoor showers. Continue blowing air through each until no water emerges.
5. Disconnect and Seal
Turn off the compressor, release any remaining air pressure, and disconnect the hose and plug. Close all drain valves and water heater outlets. Keep faucets open slightly to prevent vacuum lock, and your RV will be ready for cold storage.
Maintenance Tips
- Pour 1 cup of RV-safe antifreeze into each drain for extra freeze protection.
- Disconnect and store your RV battery in a warm, dry area.
- Inspect seals, vents, and hoses before covering your RV for the season.
Things You’ll Need
- Air compressor (2+ gallon capacity)
- Blowout plug adapter
- Air hose with regulator
- Sewer hose and elbow joint
- Socket wrench
- Rubber gloves
- Extension cord (optional)
Properly learning how to blow out RV water lines will keep your vehicle’s plumbing safe through harsh winters. This simple do-it-yourself technique saves time, money, and costly spring repairs—ensuring your RV is ready for adventure when the warm weather returns.


