Creating an Apple account, also known as an Apple ID, is essential for accessing all of Apple’s services and features, such as iCloud, the App Store, Apple Music, iMessage, and much more. With your Apple ID, you’ll be able to sync data across multiple devices, make purchases, and customize your experience within the Apple ecosystem.
In this guide, we’ll walk you through the process of creating an Apple account on your iPhone, iPad, Mac, or through a web browser. Whether you’re setting up your first Apple device or creating a new Apple ID for other services, this step-by-step guide will ensure you’re ready to get started.
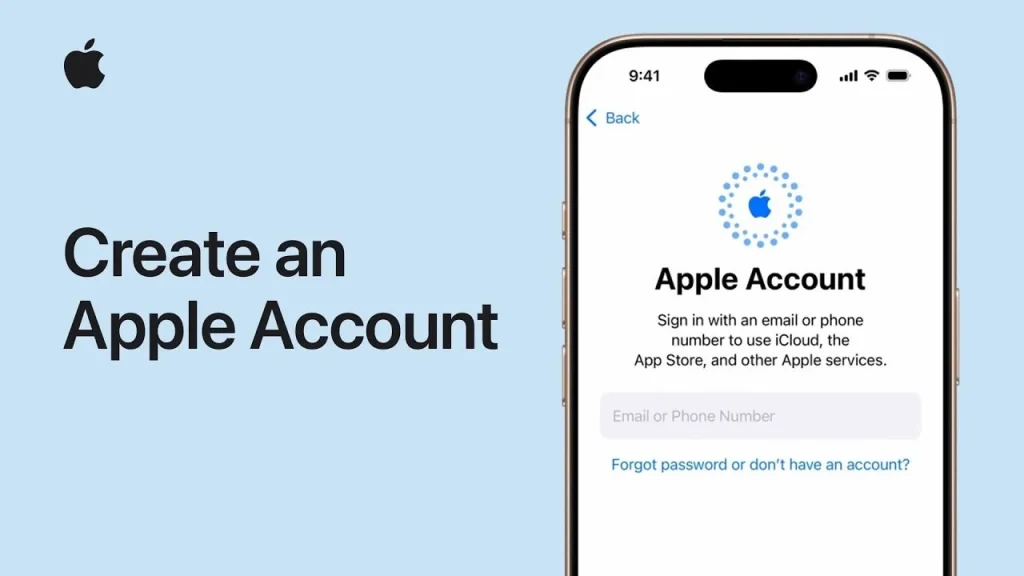
How to Create an Apple Account (Apple ID)
1. Create an Apple Account on iPhone or iPad
Creating an Apple ID directly on your iPhone or iPad is a simple and quick process. Follow these steps to set up your account.
- Open Settings
Start by opening the Settings app on your iPhone or iPad. - Tap “Sign in to your iPhone”
At the top of the Settings menu, you’ll see an option to sign in to your device. Tap on Sign in to your iPhone or Sign in to your iPad. - Create a New Apple ID
If you don’t already have an Apple ID, tap on Don’t have an Apple ID or forgot it? Then, select Create Apple ID. - Enter Your Information
You’ll be prompted to enter your name, birthday, and email address. You can either use an existing email or create a new iCloud email address. - Create a Password
Choose a strong password for your Apple ID. The password must have at least eight characters and include a mix of letters, numbers, and special characters. - Set Up Security Questions
To enhance the security of your Apple ID, you will be asked to choose three security questions and provide answers. These questions are used to help you recover your Apple ID if you forget your password. - Agree to Terms and Conditions
Read Apple’s terms and conditions, and once you’re comfortable with them, tap Agree. - Verify Your Email Address
Apple will send a verification code to the email address you provided. Enter the code to verify your email and complete the process. - Set Up Payment Information
If you plan to make purchases through Apple services (such as the App Store or iTunes), you’ll need to add a payment method. You can add a credit card, debit card, or use PayPal. If you prefer, you can select None to skip this step for now. - Complete Setup
Follow the on-screen prompts to complete the setup process. You’ll be asked if you want to enable iCloud, iMessage, and other services tied to your Apple ID. You can choose to enable these services immediately or skip them and configure them later.
2. Create an Apple Account on Mac
If you prefer to create an Apple ID on your Mac, the process is just as simple. Follow these steps to set up your account:
- Open the Apple Menu
Click on the Apple logo in the top-left corner of your Mac’s screen. - Go to System Preferences
Select System Preferences, then click Apple ID. - Create a New Apple ID
In the Apple ID panel, click Create Apple ID. If you’re already signed in with another Apple ID, you may need to sign out first. - Enter Your Details
Follow the prompts to enter your name, email, password, security questions, and payment information. - Verify Your Email Address
Apple will send a verification email to the address you entered. Open the email and enter the verification code. - Complete Setup
After verifying your email, you can customize your settings for iCloud, iMessage, and other Apple services.
3. Create an Apple Account on the Web
If you don’t have an iPhone, iPad, or Mac, you can still create an Apple ID via the web.
- Visit the Apple ID Website
Open a web browser and go to Apple’s Apple ID page. - Click “Create Your Apple ID”
On the Apple ID page, click Create Your Apple ID to begin the process. - Enter Your Details
Provide your name, email address, password, security questions, and birthdate. - Verify Your Email Address
Apple will send a verification code to the email address you provided. Enter the code to verify your email and complete the setup. - Set Up Payment and Billing Information
You’ll be prompted to add a payment method if you plan on making purchases through Apple services. You can add a payment method or choose None to skip this step.
4. Securing Your Apple ID
To ensure the security of your Apple ID, it’s essential to set up two-factor authentication.
- Turn on Two-Factor Authentication
After creating your Apple ID, go to Settings > [Your Name] > Password & Security. Toggle on Two-Factor Authentication for an added layer of protection. - Recovery Key
Apple may also prompt you to create a recovery key. This key allows you to recover your account if you lose access to it.
5. Managing Your Apple Account
Once you’ve created your Apple ID, you can easily manage your account and settings.
- Access Account Settings
On your iPhone or iPad, go to Settings > [Your Name]. Here, you can manage your Apple ID details, payment methods, subscriptions, and iCloud settings. - Access on a Mac
On your Mac, go to System Preferences > Apple ID to access and manage your Apple ID details. - Change Your Password or Security Settings
If you ever need to update your password, security questions, or payment information, you can do so in the Settings app or via the Apple ID website.
Why Creating an Apple Account Is Important
Your Apple ID is the gateway to Apple’s ecosystem of apps and services. It allows you to access iCloud, make purchases from the App Store, use iMessage, FaceTime, and more. Creating an Apple ID ensures that all your data and settings are securely synced across your Apple devices, providing a seamless experience.
Final Thoughts on Creating an Apple Account
Creating an Apple account (Apple ID) is the first step to fully enjoying Apple’s ecosystem. It gives you access to a world of services and allows you to easily manage your apps, purchases, and personal data. Whether you’re setting it up on your iPhone, iPad, Mac, or via the web, the process is straightforward and only takes a few minutes. Once your Apple ID is set up, you’ll be ready to explore all that Apple has to offer.


