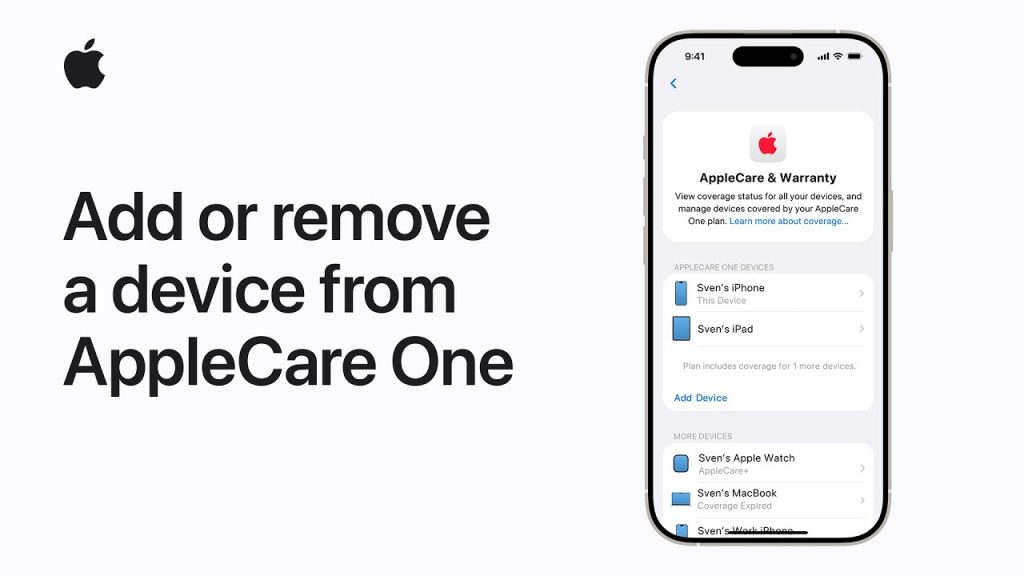
AppleCare+ offers extended coverage and support for your Apple devices, providing peace of mind with additional protection for hardware repairs, accidental damage, and more. Whether you’re upgrading to a new device, adding a family member’s device, or removing a device you no longer own, managing your AppleCare+ coverage is straightforward.
In this guide, we’ll show you how to add or remove a device from AppleCare+ and explain the steps involved in managing your coverage. Whether you want to ensure all your devices are protected or update your AppleCare+ plan for any changes, this guide will help you navigate the process.
How to Add or Remove a Device from AppleCare+
1. Adding a Device to AppleCare+
You can add AppleCare+ coverage for your new device either during the initial purchase or within a specified time frame after purchasing the device (typically 60 days). Here’s how to add AppleCare+ after your initial purchase:
- Open the Apple Support App
Start by opening the Apple Support app on your iPhone or iPad. If you don’t have the app, download it from the App Store. - Sign in with Your Apple ID
In the Apple Support app, sign in using the Apple ID associated with your device. - Select Your Device
Tap Devices at the bottom of the screen, and select the device you want to add AppleCare+ coverage for. - Check AppleCare+ Eligibility
Once you’ve selected your device, the app will display the AppleCare+ coverage options. If your device is eligible (i.e., it’s within the 60-day window after purchase), you’ll see the option to purchase AppleCare+. - Choose a Plan
AppleCare+ offers different plans based on your device (e.g., iPhone, Mac, iPad). Choose the AppleCare+ plan that fits your device and needs. You can often choose between an annual or monthly plan. - Complete the Purchase
Follow the on-screen instructions to complete your purchase. You’ll be asked to enter payment information and agree to the terms and conditions. - Confirm AppleCare+ Coverage
After completing the purchase, you’ll receive a confirmation email. You can also verify that AppleCare+ has been added by going to Settings > [Your Name] > AppleCare+.
2. Removing a Device from AppleCare+
If you no longer need AppleCare+ coverage for a device (such as if you sell the device or it’s no longer under warranty), you can remove the coverage through your Apple account or the Apple Support app.
- Open the Apple Support App
Open the Apple Support app on your iPhone or iPad. - Sign in with Your Apple ID
Ensure you’re signed in with the Apple ID linked to the device you want to remove from AppleCare+. - Select Your Device
Tap Devices at the bottom of the screen, and choose the device for which you want to remove AppleCare+ coverage. - Tap on AppleCare+
In the device details screen, tap AppleCare+. You will see your current coverage details. - Request Removal or Cancellation
If you want to cancel AppleCare+, tap the option to cancel coverage. Apple will guide you through the process, including any fees or prorated refunds. - Confirm Cancellation
Follow the on-screen instructions to confirm the cancellation of AppleCare+. Once the cancellation is processed, you’ll receive a confirmation email, and the device will no longer be covered under AppleCare+.
3. Cancel AppleCare+ via Apple’s Website
If you prefer not to use the Apple Support app, you can also manage AppleCare+ coverage through Apple’s website.
- Visit Apple’s AppleCare+ Page
Go to the official AppleCare+ page on Apple’s website. - Sign In to Your Apple Account
Sign in using the Apple ID that is associated with the device. - Select the Device to Manage
Find the device for which you want to add or remove AppleCare+ coverage and select it. - Manage or Cancel AppleCare+
You’ll be presented with options to either purchase AppleCare+ (if your device is eligible) or cancel your existing coverage. Follow the on-screen steps to complete the process.
4. AppleCare+ Terms and Conditions for Adding or Removing Devices
When adding or removing AppleCare+ coverage, keep the following in mind:
- Eligibility Period
Apple allows you to add AppleCare+ within 60 days of purchasing your device. If you miss this window, you may not be able to purchase AppleCare+ unless it’s part of a special offer from Apple. - Refunds for Canceled AppleCare+
If you cancel AppleCare+ and are eligible for a refund, the refund amount will be prorated based on how much coverage you’ve used. For instance, if you’ve already used AppleCare+ for repairs, the refund may be lower than the total price you paid for the plan. - Transferring AppleCare+ Coverage
If you sell or give away your device, AppleCare+ coverage can typically be transferred to the new owner. This process can be completed by contacting Apple Support and providing the necessary details.
5. Check Coverage for Your Devices
To verify the current AppleCare+ coverage for any of your Apple devices, follow these steps:
- Go to Settings
Open Settings on your device and tap [Your Name] > AppleCare+. - Check Coverage Details
You’ll see the coverage details for the selected device, including the status of your AppleCare+ plan, the expiration date, and any repair or support services available to you. - Visit Apple’s Coverage Page
Alternatively, you can visit Apple’s Check Coverage page on their website to look up the current warranty status of any Apple product using the serial number.
Why Managing AppleCare+ is Important
AppleCare+ offers extensive support for Apple devices, covering accidental damage, repairs, and technical assistance. Managing your coverage ensures that your devices are properly protected, and you’re not paying for unnecessary coverage on devices you no longer own.
Final Thoughts on Adding or Removing a Device from AppleCare+
Adding or removing a device from AppleCare+ is straightforward and can be done through the Apple Support app, website, or directly in your device’s settings. Whether you need to add coverage for a new purchase or remove it from a device you no longer use, Apple makes it easy to manage your coverage, ensuring your devices stay protected and you only pay for the services you need.