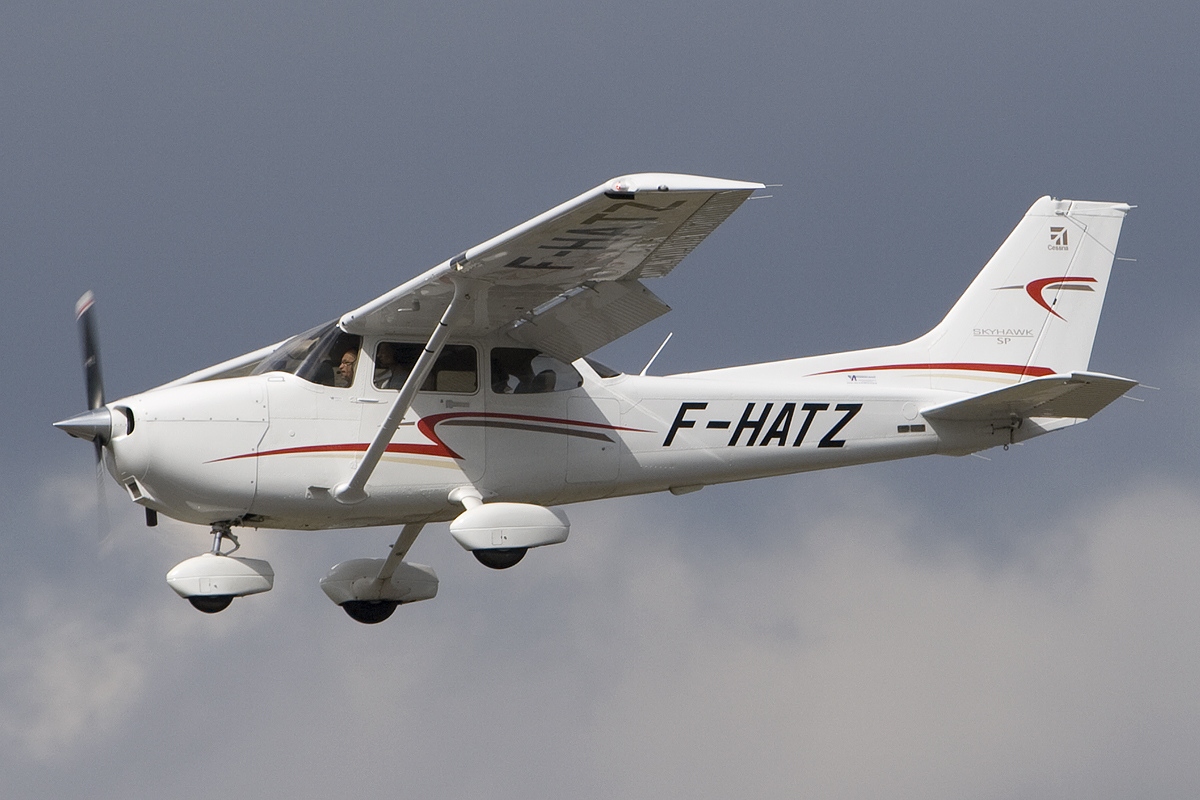
Landing a Cessna 172 safely is the most critical and rewarding phase of flight. The following guide provides essential steps to ensure a smooth landing under ideal conditions—good weather, calm winds, and clear visibility.
1. Prepare for Landing
- Check ATIS Information: Obtain Automatic Terminal Information Service (ATIS) for weather updates and active runway details.
- Contact Tower: Communicate with the control tower or approach control:
Example: “Tower, [Aircraft Tail Number], [Location], [Altitude], landing with information [ATIS Code].” - Pre-Landing Checklist: Ensure brakes, undercarriage, mixture, fuel selector, flaps, and other essentials are ready:
- Mixture: Fully rich.
- Fuel Selector: Set to “Both.”
- Carb Heat: On if below 1,500 RPM.
2. Enter the Traffic Pattern
- Descent to Pattern Altitude: Descend at 500 feet per minute to reach the traffic pattern altitude (typically 1,200 feet above sea level).
- 45-Degree Downwind Entry: Announce your position and altitude as you enter the downwind leg at a 45° angle to the runway.
3. Fly the Downwind Leg
- Fly parallel to the runway about 0.25 miles away.
- Speed & Power: Maintain 80-85 knots and set the engine to around 2,000 RPM.
4. Base Turn and Descent
- When abeam the runway numbers:
- Carb Heat: On.
- Throttle: Reduce to 1,500 RPM.
- Flaps: Deploy 10° as airspeed enters the white arc.
- Turn to Base Leg: When the runway threshold is 45° behind you, make a 90° left turn (or right for right traffic patterns).
- Flaps: Add another 10° (total 20°).
- Speed: Target 70 knots on base leg.
5. Final Approach
- Turn to Final: Align the aircraft with the runway centerline.
- Flaps: Extend to 30° after completing the turn.
- Approach Speed: Maintain 60-70 knots. Use:
- Pitch: To control airspeed.
- Throttle: To control descent rate.
- Adjust for crosswinds using:
- Ailerons: To counter crosswind drift.
- Rudder: To keep the nose aligned with the runway.
6. Flare and Touchdown
- As you near the runway:
- Gradually reduce power.
- Level off 5-10 feet above the runway.
- Apply slight back pressure on the yoke to flare and touch down gently on the main wheels.
- Crosswind Landing: Keep ailerons into the wind and rudder aligned with the runway.
7. Rollout and Taxi
- Maintain runway centerline as you decelerate.
- Use brakes sparingly to slow down to taxi speed.
- Exit the runway at the nearest taxiway and stop beyond the hold short line.
8. Post-Landing Procedures
- Checklist: Turn off carb heat, retract flaps, and perform other post-landing checks.
- Contact Ground Control: Request taxi instructions to parking or the designated area.
Tips for Success
- Go-Arounds: If the approach isn’t stable or the runway alignment is off, initiate a go-around. Apply full power, climb to pattern altitude, and re-enter the traffic pattern.
- Monitor Airspeed: Avoid stalling by maintaining a steady speed above 60 knots during the approach.
- Practice: Perfecting your landings takes time and experience. Train with an instructor to refine your technique.
Warnings
- Always follow specific airport and aircraft procedures.
- Never attempt to fly without proper certification or training.
- Avoid distractions and focus on precision during all phases of landing.
By mastering these steps, you’ll build confidence and skill in safely landing a Cessna 172. Safe flying!