Writing with a calligraphy pen is a rewarding skill that combines art and writing, giving your projects a unique, elegant touch. Whether you’re a beginner or looking to refine your skills, this guide will walk you through the steps to choose the right pen, prepare your materials, and practice basic techniques.
Part 1: Choosing a Calligraphy Pen
Step 1: Understand the Four Most Common Types of Calligraphy Pens
- Felt Tip Pens: Ideal for beginners. They are inexpensive, easy to use, and don’t require ink preparation. However, they run out of ink quickly and may bleed through the paper.
- Fountain Pens: Suitable for intermediate and advanced calligraphers. These pens use changeable nibs and ink cartridges, providing a consistent ink flow.
- Dip Pens: Favored by advanced calligraphers but can be used by beginners with patience. They consist of a handle, nib, and reservoir for holding ink. These pens offer more flexibility with nibs and inks.
- Brush Pens: These pens have a brush tip and are used similarly to a paintbrush. They can create thick and thin lines based on pressure but can be messy for beginners.
Step 2: Try One to Two Different Pens at a Time
Choose two types of pens, like a felt tip and a fountain pen, to understand how each feels and performs. This helps you decide based on your comfort and writing style.
Step 3: Buy the Ink for a Dip Pen or Brush Pen
For dip pens and brush pens, use calligraphy ink (like India ink or Chinese stick ink). Avoid India inks with shellac, which can damage the nib. Some pens come in sets with ink and nibs included.
Step 4: Get Ink Cartridges for a Fountain Pen
Fountain pens usually come with recommended ink cartridges. Follow the manufacturer’s guidelines for the best results. As you get more experienced, you can experiment with different inks and converters.
Step 5: Choose a Nib for Your Pen
- Italic Nibs: Blunt-edged and rigid, suitable for Gothic and Italic styles.
- Flex Nibs: Rounded with two tines that create varied line widths based on pressure, commonly used for most calligraphy styles.
Part 2: Putting Ink in the Pen and Choosing Your Paper
Step 1: Load the Fountain Pen with the Ink Cartridge
- Remove the cap and the barrel.
- Insert the cartridge into the nib until you hear a click.
- Switch between bottled ink and cartridges as needed.
Step 2: Use an Eyedropper to Put Ink in the Reservoir of the Dip Pen or Brush Pen
- Hold the pen horizontally.
- Use an eyedropper to apply ink to the reservoir.
- Test the ink flow on scrap paper before writing on your main paper.
Step 3: Write on Fountain Pen Paper, Not Regular Office Paper
Use high-quality, thick paper to prevent ink bleeding. Practice on lined or gridded paper to get used to writing guidelines.
Part 3: Practicing Basic Lines
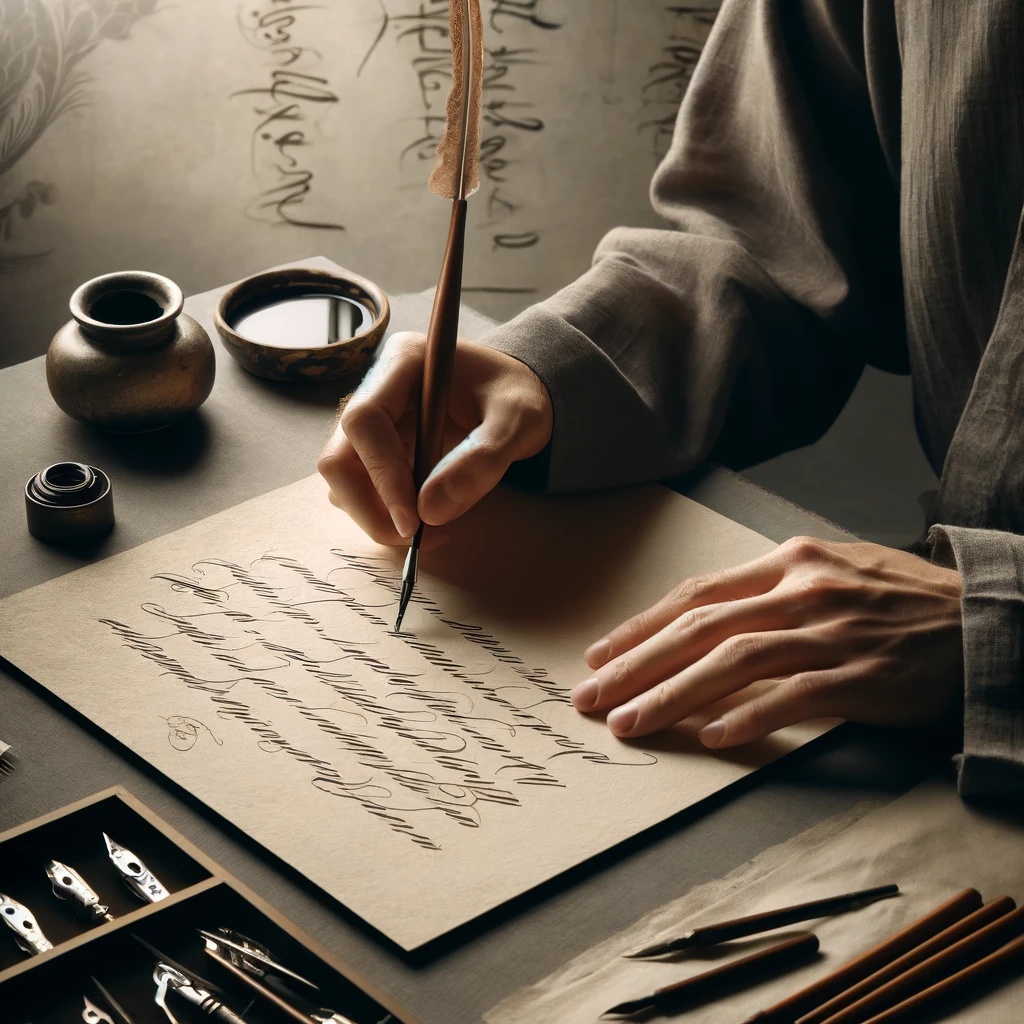
Step 1: Use a Sloped Writing Surface for Dip Pens or Brush Pens
A sloped surface helps the ink flow better. Ensure your surface is stable and at a comfortable height.
Step 2: Fasten the Paper to Your Writing Surface
Use masking tape or clips to keep the paper flat. Consider placing a guard sheet under your hand to prevent smudging.
Step 3: Do a Basic Downward Stroke
- Hold the pen horizontally at a zero-degree nib angle.
- Make a vertical downward stroke with even pressure to create the thickest stroke possible.
Step 4: Make Upward Strokes
- Hold the pen at a forty-five-degree angle.
- Apply varying pressure for thick or thin strokes.
Step 5: Do a Sawtooth Pattern
- Maintain a forty-five-degree angle.
- Create diagonal thin upstrokes and thick vertical downstrokes to form a sawtooth pattern.
Step 6: Use Practice Sheets for Different Writing Styles
Practice with guidelines for different styles like Gothic, Italic, and cursive. Print practice sheets to master each letter before creating short words and phrases.
With patience and practice, you’ll develop the skill to create beautiful calligraphy. Enjoy the process and watch your writing transform into art.


