Awesome—getting a DIY trailer street-legal is very doable if you show up with the right papers and the trailer passes a quick safety check. Here’s a tight, practical playbook you can follow anywhere, with quick region notes.
1) Build your “paper pack”
Bring printed copies (and keep photos on your phone):
- Government ID + proof of address (utility bill, etc.)
- Receipts for major parts (frame steel/lumber, axle/hubs, springs, coupler, lights, wheels/tires). If you used donor parts, list the donor vehicle or bill of sale.
- Weight slip for the empty trailer (see CAT Scale tip below)
- Photos: front, rear, both sides, plus close-ups of coupler, safety chains, lights/plug, axle/springs, and frame
- Build statement (plain-English summary: materials, axle rating, lighting, brakes if any). Some places want it notarized
- Insurance (if required where you live)
2) Make it pass an inspection (10-minute DIY preflight)
Most inspections are quick; they’re checking safety basics:
ADVERTISEMENT
- Coupler matches your ball size (2″, 1–7/8″, 2–5/16″) and latches securely; safety chains crossed under tongue, grade-rated, with proper hooks
- Lighting (12V, SAE/DOT) and grounded:
- Red tail + brake + turn + rear reflectors
- Amber side markers near front, red side markers near rear (on longer trailers)
- License light for plate
- Wiring: 4-pin flat (common) or 7-blade—no scotch-locks dangling, no bare copper
- Tires: ST or LT with adequate tread, no dry-rot; load rating ≥ trailer GVWR; correct cold PSI
- Hubs/bearings: spin smooth; no wobble; caps present; no grease sling
- Suspension: U-bolts tight; leafs not cracked; shackles/bushings intact; torsion arms not sagged
- Brakes (if required by weight where you live): electric or surge, with breakaway switch + charged battery; drums/rotors not seized; controller shows output
- Fenders/guards (if required): cover tread to reduce spray
- Frame/tongue: straight, sound welds/bolts, no cracks; tongue jack retracts
- Dimensions/ID: overall width/length within local limits; spot to affix VIN plate (left front frame rail is common)
3) Get it weighed (empty)
- Find a CAT Scale / public weighbridge. Pull onto scale with tow vehicle fully on, get a ticket, then pull the car off the platform leaving only the trailer, get the “trailer only” weight. Keep the weight slip.
4) Apply for a VIN & title/registration (region quick-start)
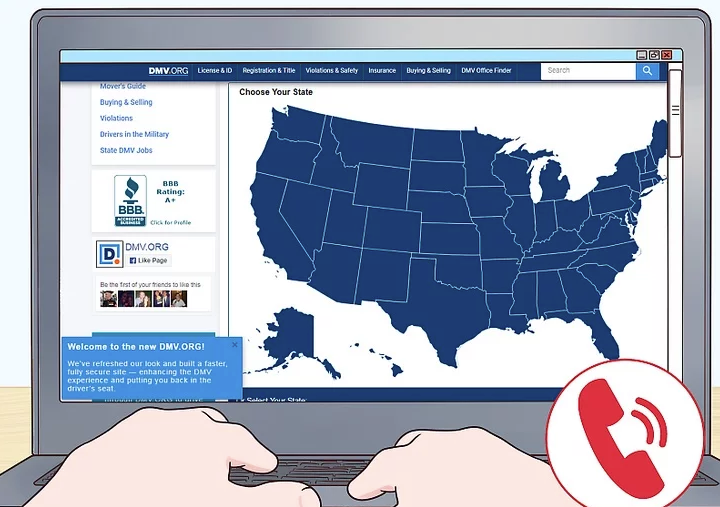
United States
- Where: Your state DMV (some county tag offices)
- Typical steps:
- Fill “Homemade/Assembled Trailer” title & reg forms + VIN assignment request
- Inspection (DMV or law-enforcement or certified station—varies by state)
- Pay taxes/fees; they issue or rivet on a VIN plate (or give you one to affix)
- Receive title/plate by mail or same day (state-dependent)
- Notes: Some states don’t title very light trailers; others require brakes ≥ 1,500–3,000 lb GVWR; bring your weight slip.
Canada
ADVERTISEMENT
- Where: Provincial licensing/insurance (e.g., ICBC in BC, ServiceOntario, SAAQ, etc.)
- Steps: “Ubilt”/homemade process, provincial VIN assignment, safety inspection, then insure/register.
- Notes: Brakes often required ≥ 1,360–1,800 kg GVWR (province-specific). Proof of component sources is important.
United Kingdom
- Steps: Apply to DVLA for VIN, then book an IVA (Individual Vehicle Approval) for trailers (O1/O2). After IVA pass, DVLA issues reg mark; you fix the VIN plate and display plate.
- Notes: EU/UK lighting & braking standards are strict; over certain weights you’ll need compliant brakes, parking brake, and type-approved components.
Australia
- Where: State/Territory transport (TMR QLD, Service NSW, VicRoads, etc.)
- Steps: VIN allocation (some use AVV plate), identity & safety inspection, weighbridge ticket, then register.
- Notes: Trailers ≤ 750 kg ATM typically no brakes; > 750 kg need brakes (and > 2,000 kg need breakaway). ADR lighting/braking compliance applies.
5) Fees & timing (ballpark)
- Weight ticket: US$14–$16 (CAT)
- Inspection: ~US$10–$40 (varies; UK IVA is more)
- Title/plate/registration: ~US$20–$200 depending on region/weight
- Turnaround: same day to 2–4 weeks (mail)
Smart answers to common snags
- No receipts? Write a parts list with reasonable values, include any donor bills of sale. Some offices accept sworn/ notarized statements.
- Used axle with worn tag? Measure tube, spring centers, and hub/stud size; bring photos. Conservative GVWR = 2 × (tire load rating) if unknown.
- VIN location? Plan to stamp/affix on left front frame rail + a secondary hidden stamping. Don’t stamp over welds.
- Brakes borderline? If you’re near your state’s brake threshold, add electric brakes + breakaway now—it speeds inspections and is safer.
- Lighting gremlins? Ground each lamp to a clean metal point or run a dedicated ground wire back to the plug; avoid relying on rusty hinges.
Tiny checklist before you go to the counter
- ID + proof of address
- Filled forms (title, reg, VIN, homemade declaration)
- Weight slip
- Receipts / parts list (notarized if required)
- Photos (front/rear/sides + details)
- Insurance (if required)
- Trailer present & roadworthy for inspection
If you tell me where you’re registering (state/province/country) and your empty weight / intended GVWR, I’ll tailor the exact brake/lighting thresholds, the right plug type, and link you to the specific forms you’ll need.


